Re-upload Checks
On occasion, you will need to re-upload an employee's or employees' paycheck. To re-upload, follow these steps.
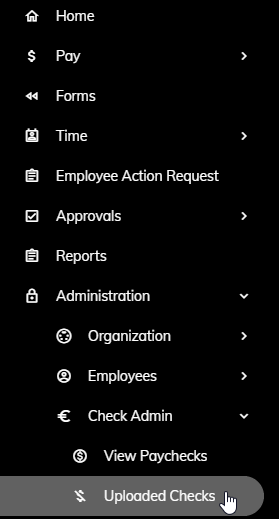
Click Administration > Check Admin > Uploaded Checks from the left side of the screen.
Please Note: You may want to delete the checks previosly uploaded. When you re-upload checks, the new checks will overwrite the previous ones. However, it may be good practice to delete all checks in case you erroneously paid an employee that should not have been paid. In this scenario, if we do not delete all checks, there is no new check to overwrite the erroneous check. As a result, that erroneous check will continue to appear on the site for that employee. To delete all checks, continue to step 2. Otherwise, continue to step 4.
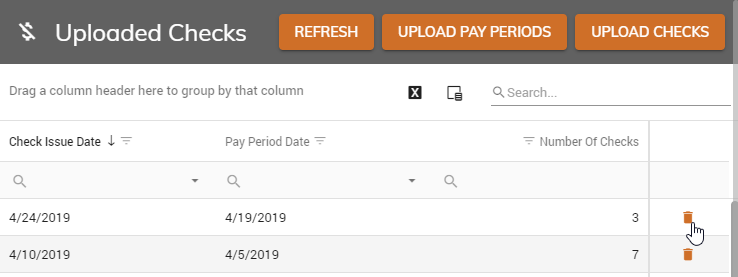
Find the Check Issue Date in the list. To the right of the appropriate Check Issue Date, click Delete.
A message box will appear. Click Yes to delete the chekcs or No to cancel.

Click on the Upload Checks button in the upper right.

The Upload Checks popup will appear.
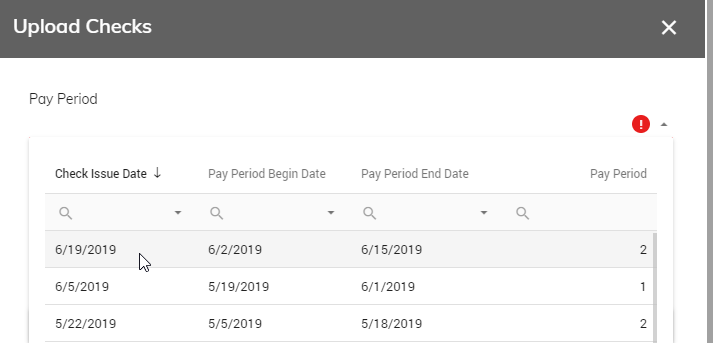
Select the pay period from the Pay Period drop-down.
Check the Send Notifications check box to send an email notification to employees notifying them of their uploaded check.

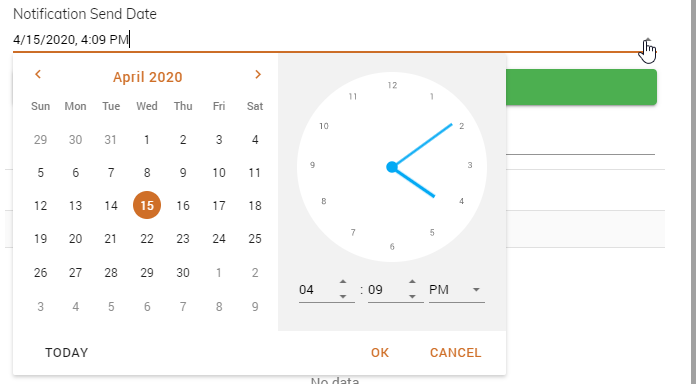
If you would like to control when the notification is sent, specify the date and time by clicking on the calendar button. Checks will not appear for the employee until the date and time specified in this step. You have the ability to specify the month, date, hour, and minute. When complete, click Done.
On occasion, you need to re-upload only certain employees' checks. If you deleted all checks in step 2 above, you will want to re-upload all checks. In that case, continue to step 12. If you need to only re-upload checks for certain employees, continue to step 8 below.
Click on the New Criteria button.

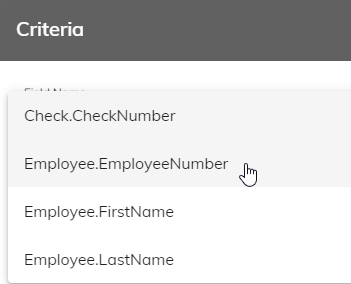
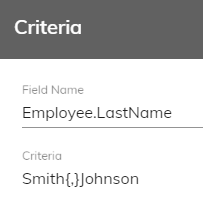
A new popup screen will appear. Specify the Field Name you want to use to find the employee(s) that need to be re-uploaded by clicking on the drop-down.
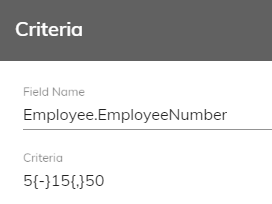
Specify the value(s) in the Values field. You may specify more than one Value by separating with a bracketed comma {,} or specify a range by utilizing a bracketed dash {-}.
Alternatively, you can use the Search button to specify which employees you would like to re-upload.

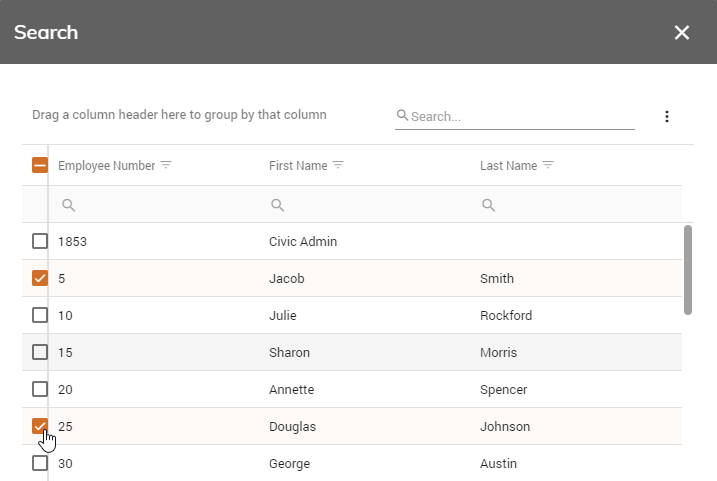
When complete click the Select button.

Click the Add To Values button to add the values to the Values field.

Finally, click Save

When set, click Upload Checks.

The Status in the upper right will turn yellow while the process is running. Once complete, the Status will turn green.

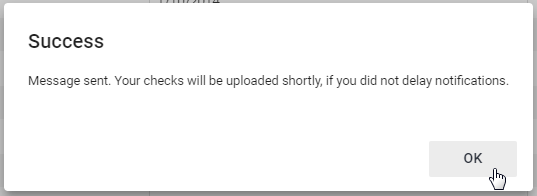
In addition, a message box will appear. Click OK.
