Create a New Time Off Template
To create a new Time Off Template, follow these steps:
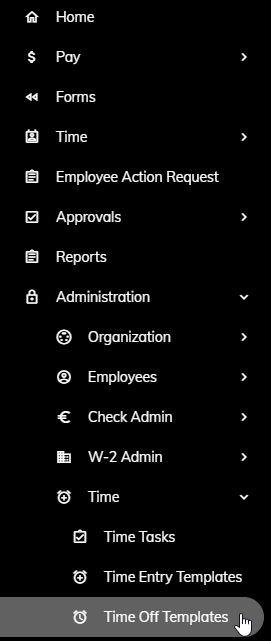
Click Administration > Time > Time Off Templates from the left side of the screen.

Click the New button.

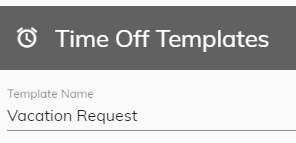
Enter a name in the Template Name field.

Click Save Template.

Once the Template is saved, you will need to specify some additional information.
On the General tab, click the Allow template members to see others time off if you would like Employees that share the same Time Off Template to see each other's requests on the time off calendar.

Click the Allow template members to see approvers time off if you would like to allow Employees utilizing this template to see the approver's leave on the time off calendar.

Enter Shared Calendar Email Addresses if you would like any approved leave requests to be sent to a shared email calendar. Multiple email addresses can be entered. After entering an email address, press the enter key. Then, simply enter another address followed by pressing the enter key.

The Steps tab is used to specify what Group the Time Off requests will be routed to.
Click on the Steps tab.

To add a step, click the Add a row button on the right.

Specify a Step Name.
Specify a Group from the drop-down. To learn how to create a Group click here
Click the Send Time Off Appointments check box to provide the employee with the ability to receive appointments to their email address
Click the Send Request Added Emails check box to send emails to the approving person when employees have requested Time Off.

If you need Time Off to be approved by more than one (1) level of management, repeat steps 7 through 11 to add another approval step.
The Tasks tab is used to specify the type of Time Off allowed for this Time Off Template. Tasks need to be setup in order to appear on this tab. To learn how to create a Time Task click here.
Click on the Tasks tab.

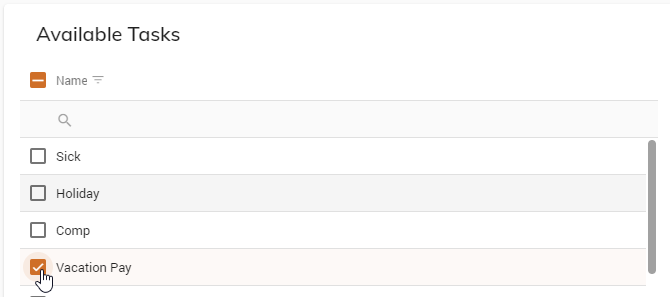
Click the check box next to each pertinent Time Task under the Available Tasks section. These are the tasks/time off types that the Employees in this Time Off Template will be able to request.

Click the Add Selected button.

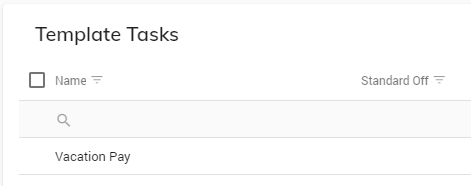
The Tasks selected in step 14 will now appear in the Template Tasks section.

To assign this Time Off Template to an employee, click here.