Modify Employee Settings and Profile
You can modify an Employees setting and profile. This includes an Employees email address, email notifications settings, and more. To view and/or modify an Employee's settings and profile, follow these steps.
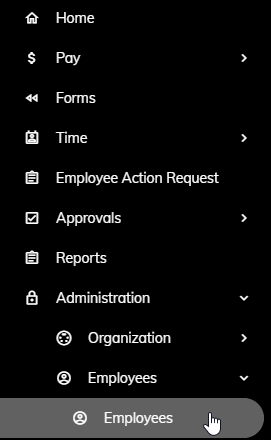
Click Administration > Employees > Employees from the left side of the screen.
A list of all Employees will appear.
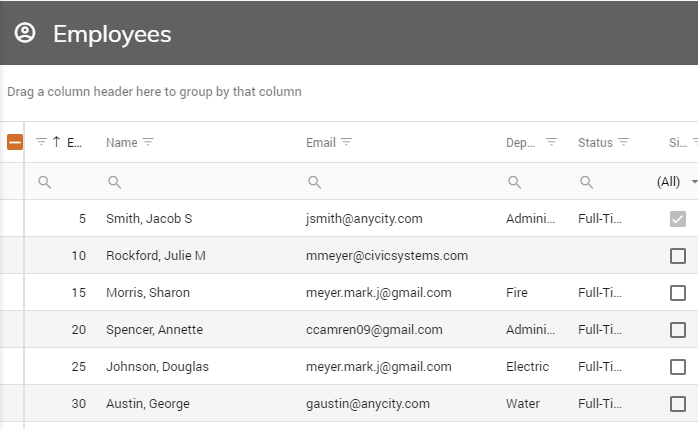
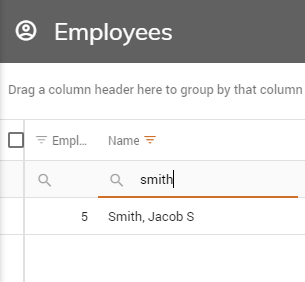
You can filter the list by using the filter fields at the top of each column.
If you are not seeing a new employee in the list, click here.
To modify an Employee's settings and profile, simply click on the appropriate employee line.
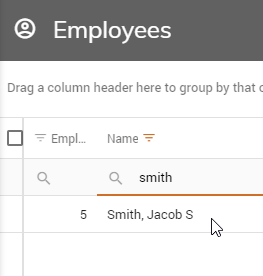
The Edit Employee screen will appear.
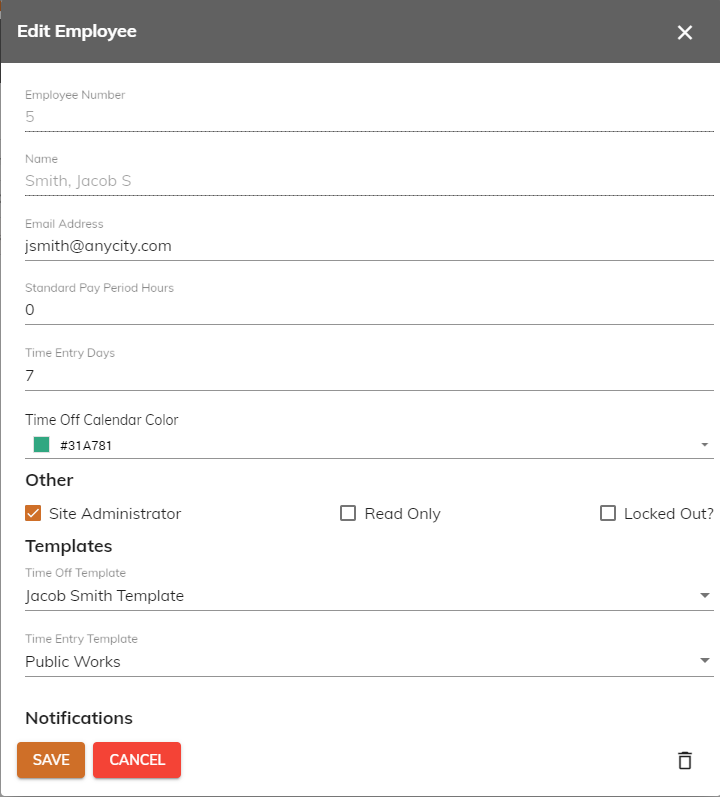
You may edit any of the following:
a. Email Address - This is the preferred email address for the employee. The Email Address is also the Employee's username when loggin in.
b. Standard Pay Period Hours - You can override the Standard Pay Period Hours specified on the Time Entry Template assigned to this employee by entering a number other than "0" in this field. This controls when an email is sent to the employee notifying them of missing hours. If 75 hours was entered on the Time Entry Template assigned to this employee and this employee typically works 80, you can enter 80 hours into this field. The employee will receive an email notification for missing time when they have entered anything less than 80 hours for the pay period and not 75 as assigned at the Template level.
c. Time Entry Days - This controls how many days appear in the time entry grid for the employee.
d. Time Off Calendar Color - This is the color the Employee's appointments will appear on the Time Off calendar.
e. Site Administrator - This check box controls whether this employee is a site administrator. When checked, the employee will see all menu options under Administration.
f. Read Only - This check box controls whether this employee can only view Paychecks and/or W-2's. They will not be able to modify their user profile.
g. Locked Out? - This checkbox will tell you if the Employee is locked out of the site. This is typically due to entering the wrong password too many times. You can manually check or uncheck to control whether an Employee is locked out of the site.
h. Time Off Template - This controls where an Employee's Time Off requests are routed for approval. Click here to learn more about how to setup a Time Off Template.
i. Time Entry Template - This controls Time Entry for the employee in regards to what Time Tasks the employee can record time to, who approves their time, and more. Click here to learn more about how to setup a Time Entry Template.
j. Send Notifications - This check box controls whether the Employee will receive email notifications when new paychecks or W-2's have been uploaded.
k. Send Vacation Appointments - This check box controls whether the Employee will receive appointments to their email address when Time Off has been approved.
l. Send Vacation Status Change Emails - This check box controls whether the Employee will receive email notifications communicating when Time Off requests have been approved or denied.
m. Out of Office User - You can specify a person to approve time or time off in another employee's absence.
n. Out of Office End Date - The person specified in step 4.l. above will have the ablity to approve time and/or time off requests until this date specified.
o. Two Factor Authentication - You have the ability to uncheck or turn off authentication for the employee. You do not have the ability to turn authentication on for an employee. The employee will need to do that themselves under My Profile.
When done making changes, click the Save button at the bottom of the screen.
